Table of Contents
Toggle
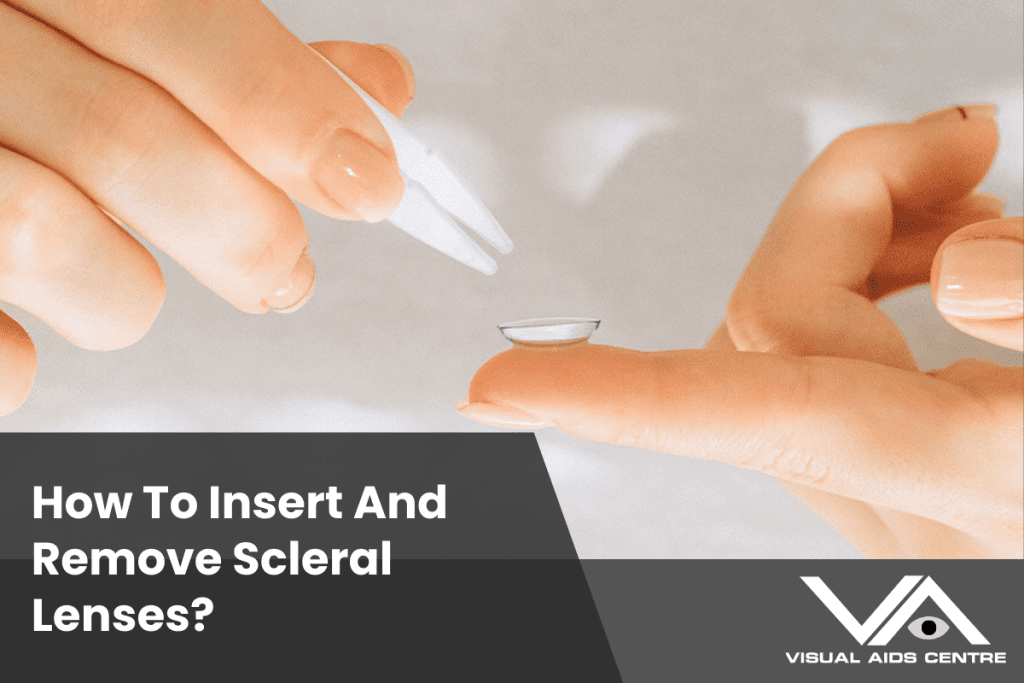
To insert scleral lenses, ensure they are filled with preservative-free saline and place them gently on the eye. Removing them requires using a suction tool or a controlled manual technique.
Below, you’ll find detailed instructions to guide you through each step safely and effectively.
Understanding Scleral Lenses
Scleral lenses are large, gas-permeable contact lenses designed to vault over the cornea and rest on the sclera, the white part of your eye. These lenses are often used to treat complex eye conditions such as keratoconus, severe dry eye, or post-surgical complications. They offer superior comfort by protecting the cornea and providing a stable surface for clearer vision.
Preparing to Insert Scleral Lenses
Hygiene is the First Step
Cleanliness is essential when handling scleral lenses to avoid eye infections. Begin by thoroughly washing your hands with soap and water.
- Dry your hands using a lint-free towel.
- Ensure your nails are trimmed to prevent damaging the lenses or scratching your eye.
Gather Your Supplies
Before you begin, make sure you have the following items handy:
- Your scleral lenses
- A lens storage case
- Preservative-free saline solution
- A mirror placed on a stable surface
- A plunger (optional for insertion)
Inspect the Lens
Thoroughly examine your lenses for any signs of damage or debris.
- Look for cracks, nicks, or deposits on the lens surface.
- Rinse them with a preservative-free saline solution to remove contaminants.
Steps to Insert Scleral Lenses
Step 1. Fill the Lens with Saline
Place the lens either in the palm of your hand or on a specialised suction plunger designed for easy insertion. Fill the lens bowl completely with non-preserved, unbuffered sterile saline (e.g., sodium chloride 0.9%), or as recommended by your eye care provider. This step is crucial to minimise air bubbles, which can cause discomfort and vision issues.
Step 2. Position the Lens
- Lean over your mirror to ensure any spills don’t end up on your clothes.
- Retract both your upper and lower eyelids using your non-dominant hand to expose your eye.
Step 3. Place the Lens on the Eye
Slowly and gently move the lens toward your eye, aiming for the centre.
- Keep your eye focused on the mirror to align the lens correctly. It helps to keep both eyes open and look straight ahead to maintain proper orientation and reduce blinking.
- Gently release the eyelids once the lens is in place to secure its position.
Step 4. Check for Air Bubbles
After insertion, look in the mirror to confirm the lens is flush against your eye with no noticeable air bubbles. If bubbles are present, remove the lens and reinsert it.
Common Issues When Inserting
- Air Bubbles: Ensure that the lens bowl is fully filled with saline prior to insertion.
- Discomfort: Recheck the cleanliness of the lens and your hands.
Steps to Remove Scleral Lenses
Step 1. Ensure Clean Hands
As with the process of insertion, begin by thoroughly washing and drying your hands.
Step 2. Position Yourself
Sit or stand in front of a mirror to clearly see what you’re doing.
- Keep your head steady to avoid sudden movements.
Step 3. Using the Suction Plunger
A small suction plunger can make removal easier, especially for beginners.
- Moisten the tip of the plunger with preservative-free saline for a better grip.
- Gently place the plunger on the centre of the lens and apply light suction.
- Pull the lens straight out without tilting, then place it in its storage case.
Step 4. Manual Removal
For manual removal without tools, follow this process:
- Utilise your dominant hand to gently retract your lower eyelid.
- Using your thumb and forefinger, apply gentle pressure to the bottom edge of the lens to release the suction seal.
- Carefully remove the lens and place it in the designated lens case.
Troubleshooting Lens Removal
Lens Feels Stuck
- A stuck lens can result from a tight seal due to dryness or improper saline use.
- Apply a few drops of preservative-free lubricating drops (specifically compatible with scleral lenses) to help loosen the lens seal. Avoid excessive force and wait a few minutes before retrying.
Soreness or Redness
If your eye becomes sore or red during removal, stop immediately and give your eye a rest. Please consult your eye care professional should the issue persist.
Tips for Success
Practice Makes Perfect
If you are new to scleral lenses, consistent practice is essential. Start in a calm and well-lit environment to build confidence and precision.
Keep Supplies Handy
Always have spare saline, a mirror, and your plunger tool with you, especially when travelling.
Maintain Regular Eye Care Checkups
Routine visits to your optometrist or ophthalmologist ensure your lenses fit correctly and your eyes remain healthy.
Why is Proper Technique Crucial?
Correct insertion and removal techniques protect your eyes from infections and irritation. Additionally, they help you maintain the quality and lifespan of your scleral lenses. Whether you’re a first-time user or a seasoned pro, following these steps will enhance your comfort and ensure a seamless experience.
Taking the Next Step Towards Healthier Vision
Scleral lenses are a groundbreaking solution for those dealing with complex eye conditions. By mastering the process of inserting and removing them, you’ll maximise their benefits and minimise any potential discomfort.
If you’re still uncertain about the techniques or face challenges, consult your eye care professional for personalised guidance. Investing time in learning the process now will pay off with improved eye health and exceptional vision.
